In this tutorial, you will learn how to compile and run xv6 locally on Windows 10 using WSL (Windows Subsystem for Linux)
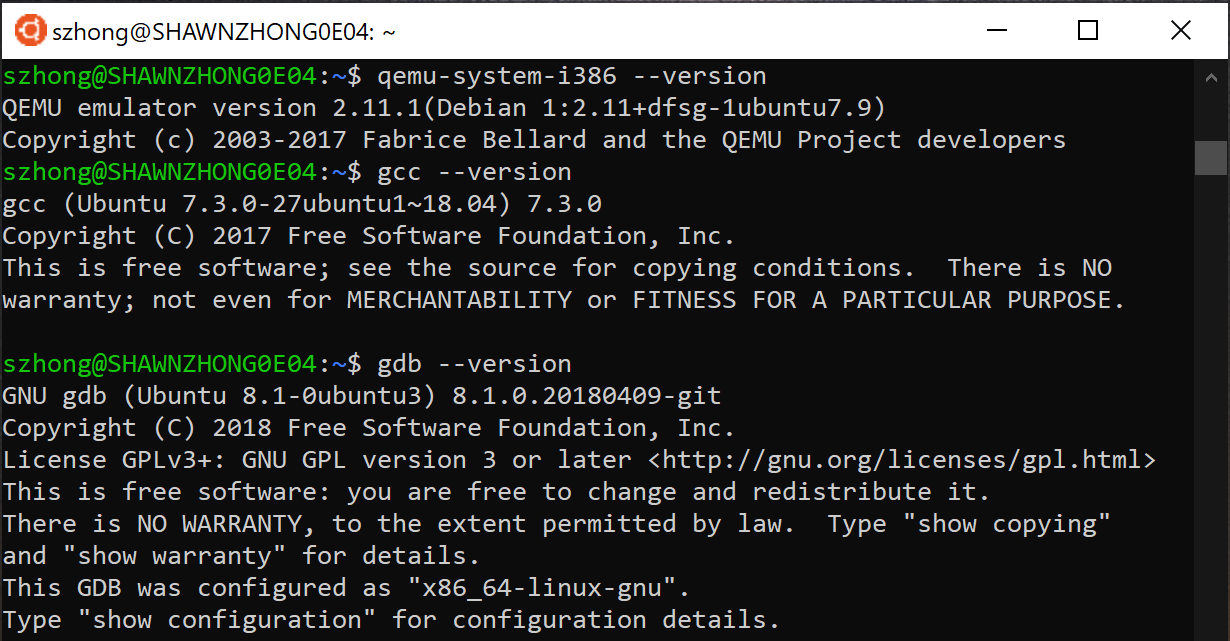
Enable WSL (Windows Subsystem for Linux)
1. Search for “Turn Windows features on or off” in the start menu and open it.
2. Select “Windows Subsystem for Linux”
3. Restart your computer when prompted
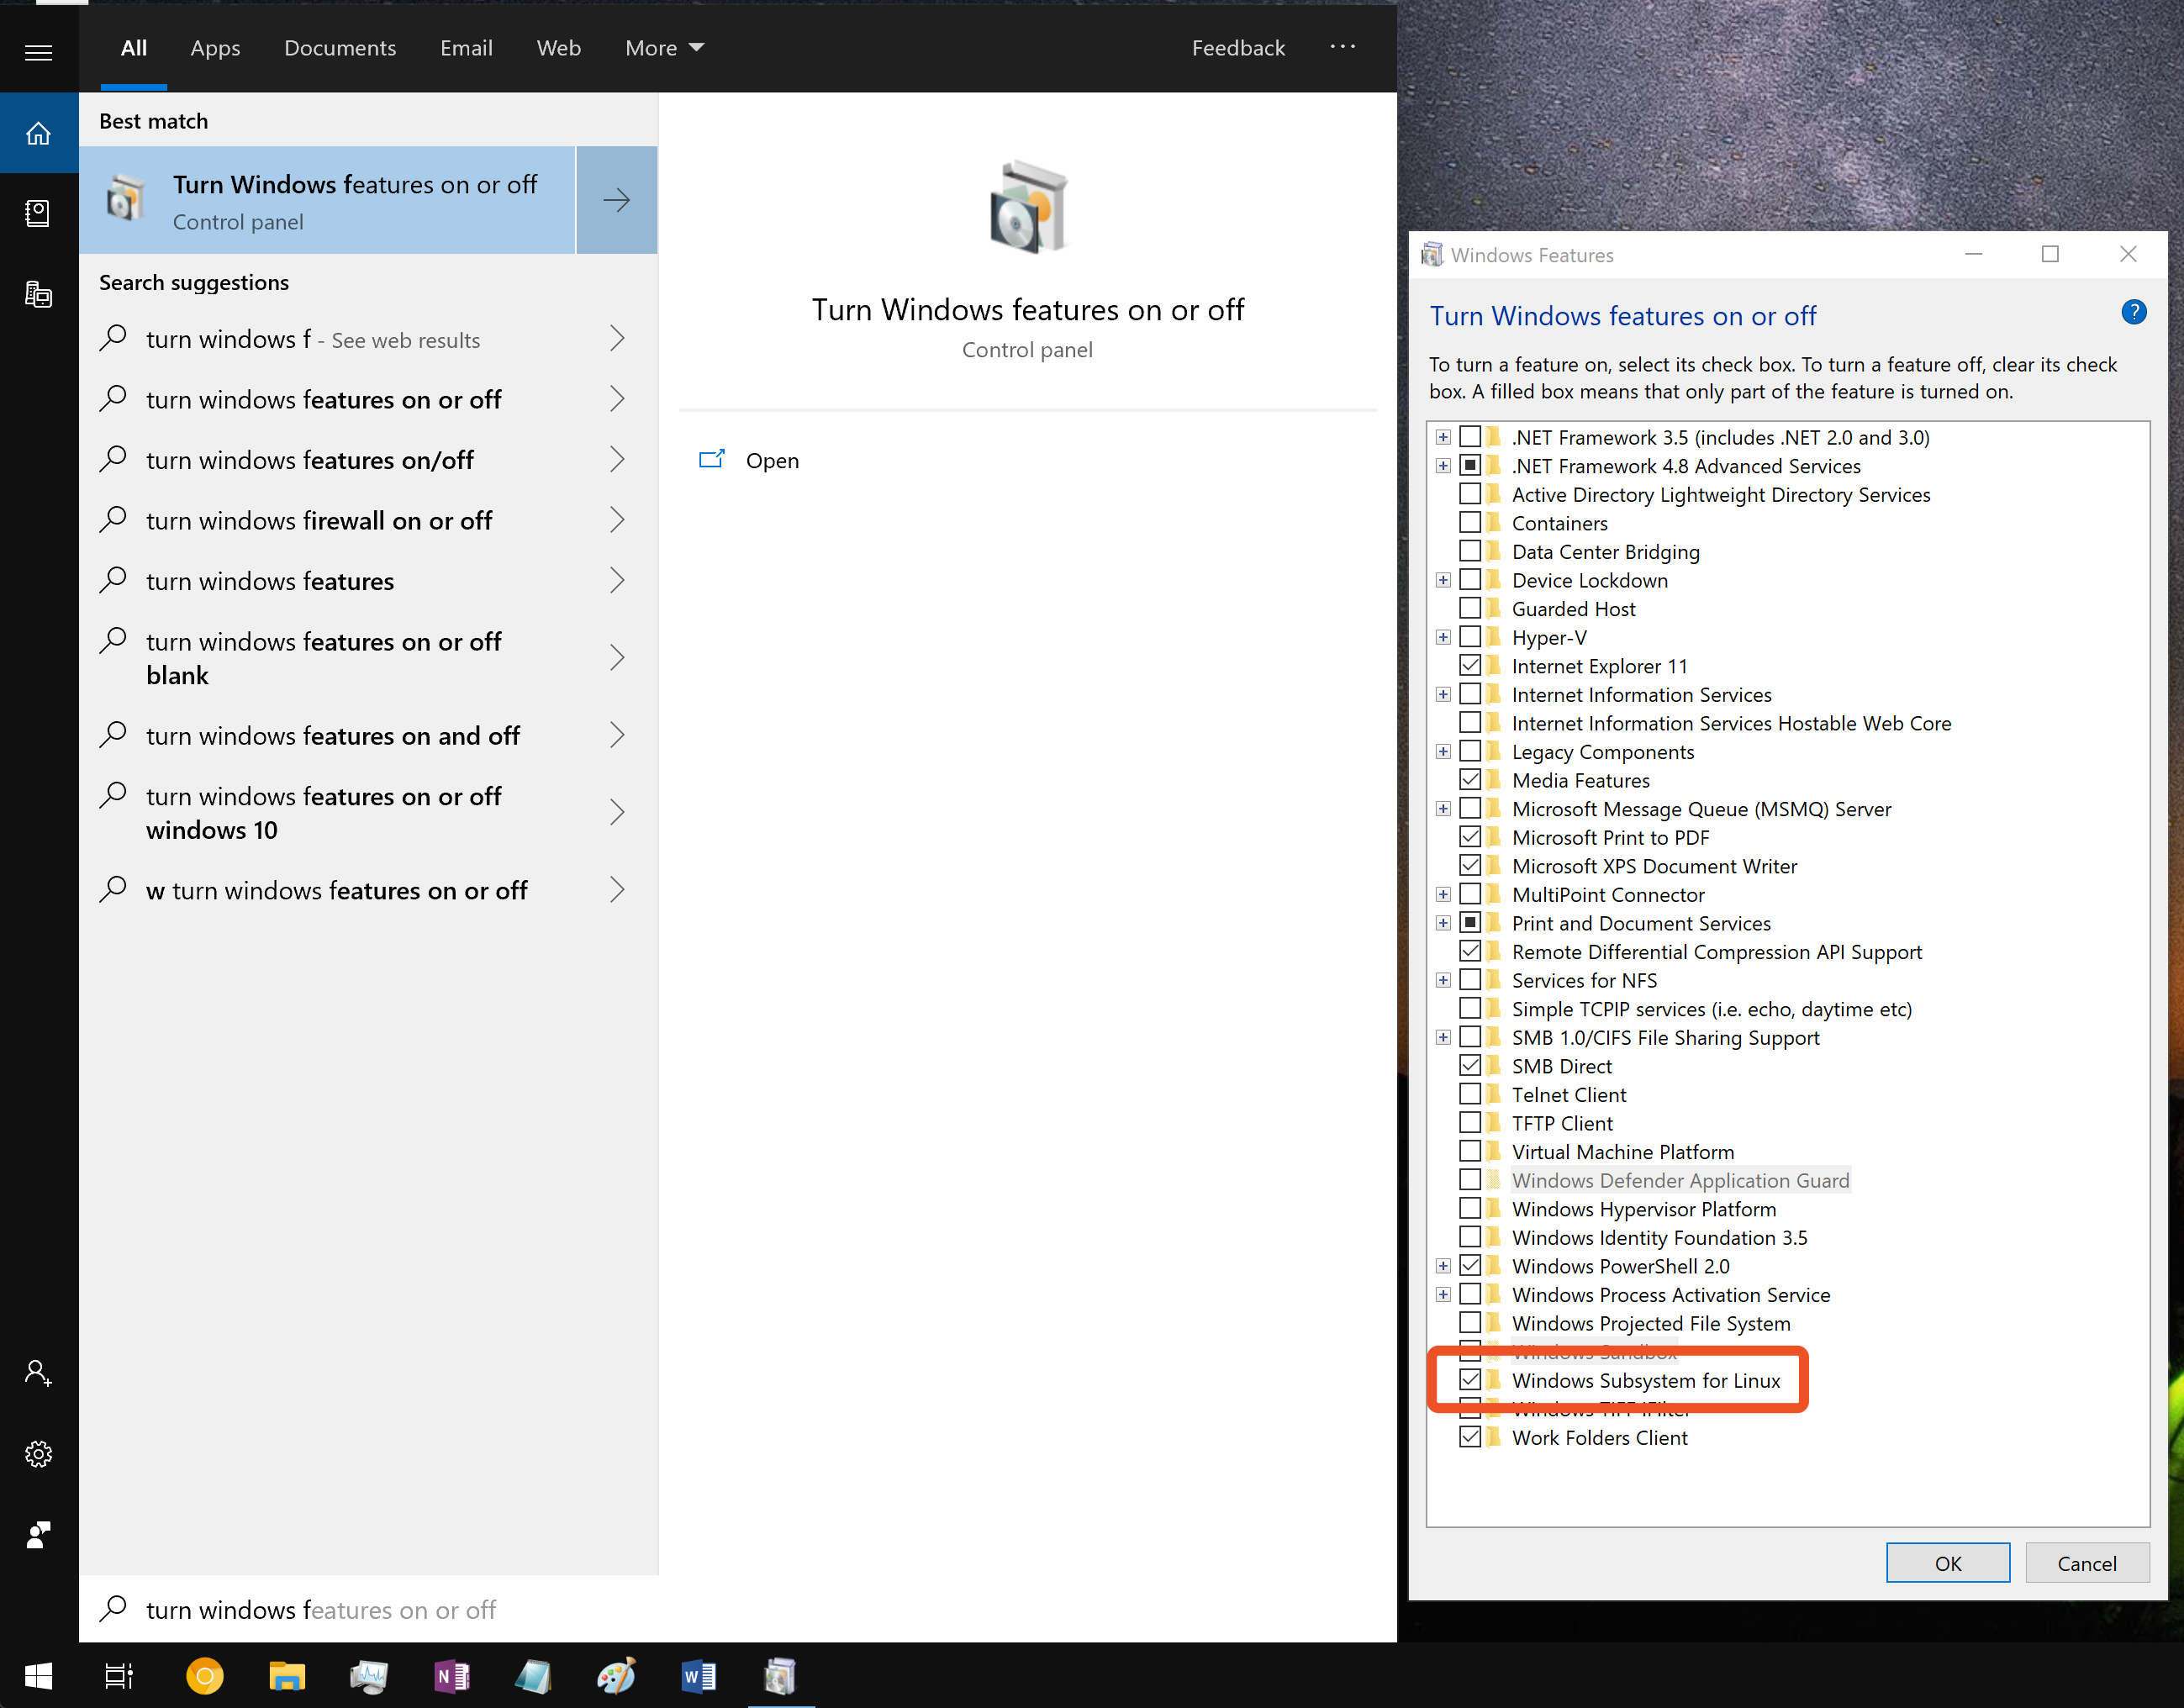
Install Linux Distribution
1. Open this link https://aka.ms/wslstore on Windows. You will be redirected to an installation page in Microsoft Store. (If this link doesn’t work, you can manually open Microsoft Store and search for Ubuntu.)
2. Download Ubuntu. This usually takes about 5-10 minutes depending on your Internet speed.
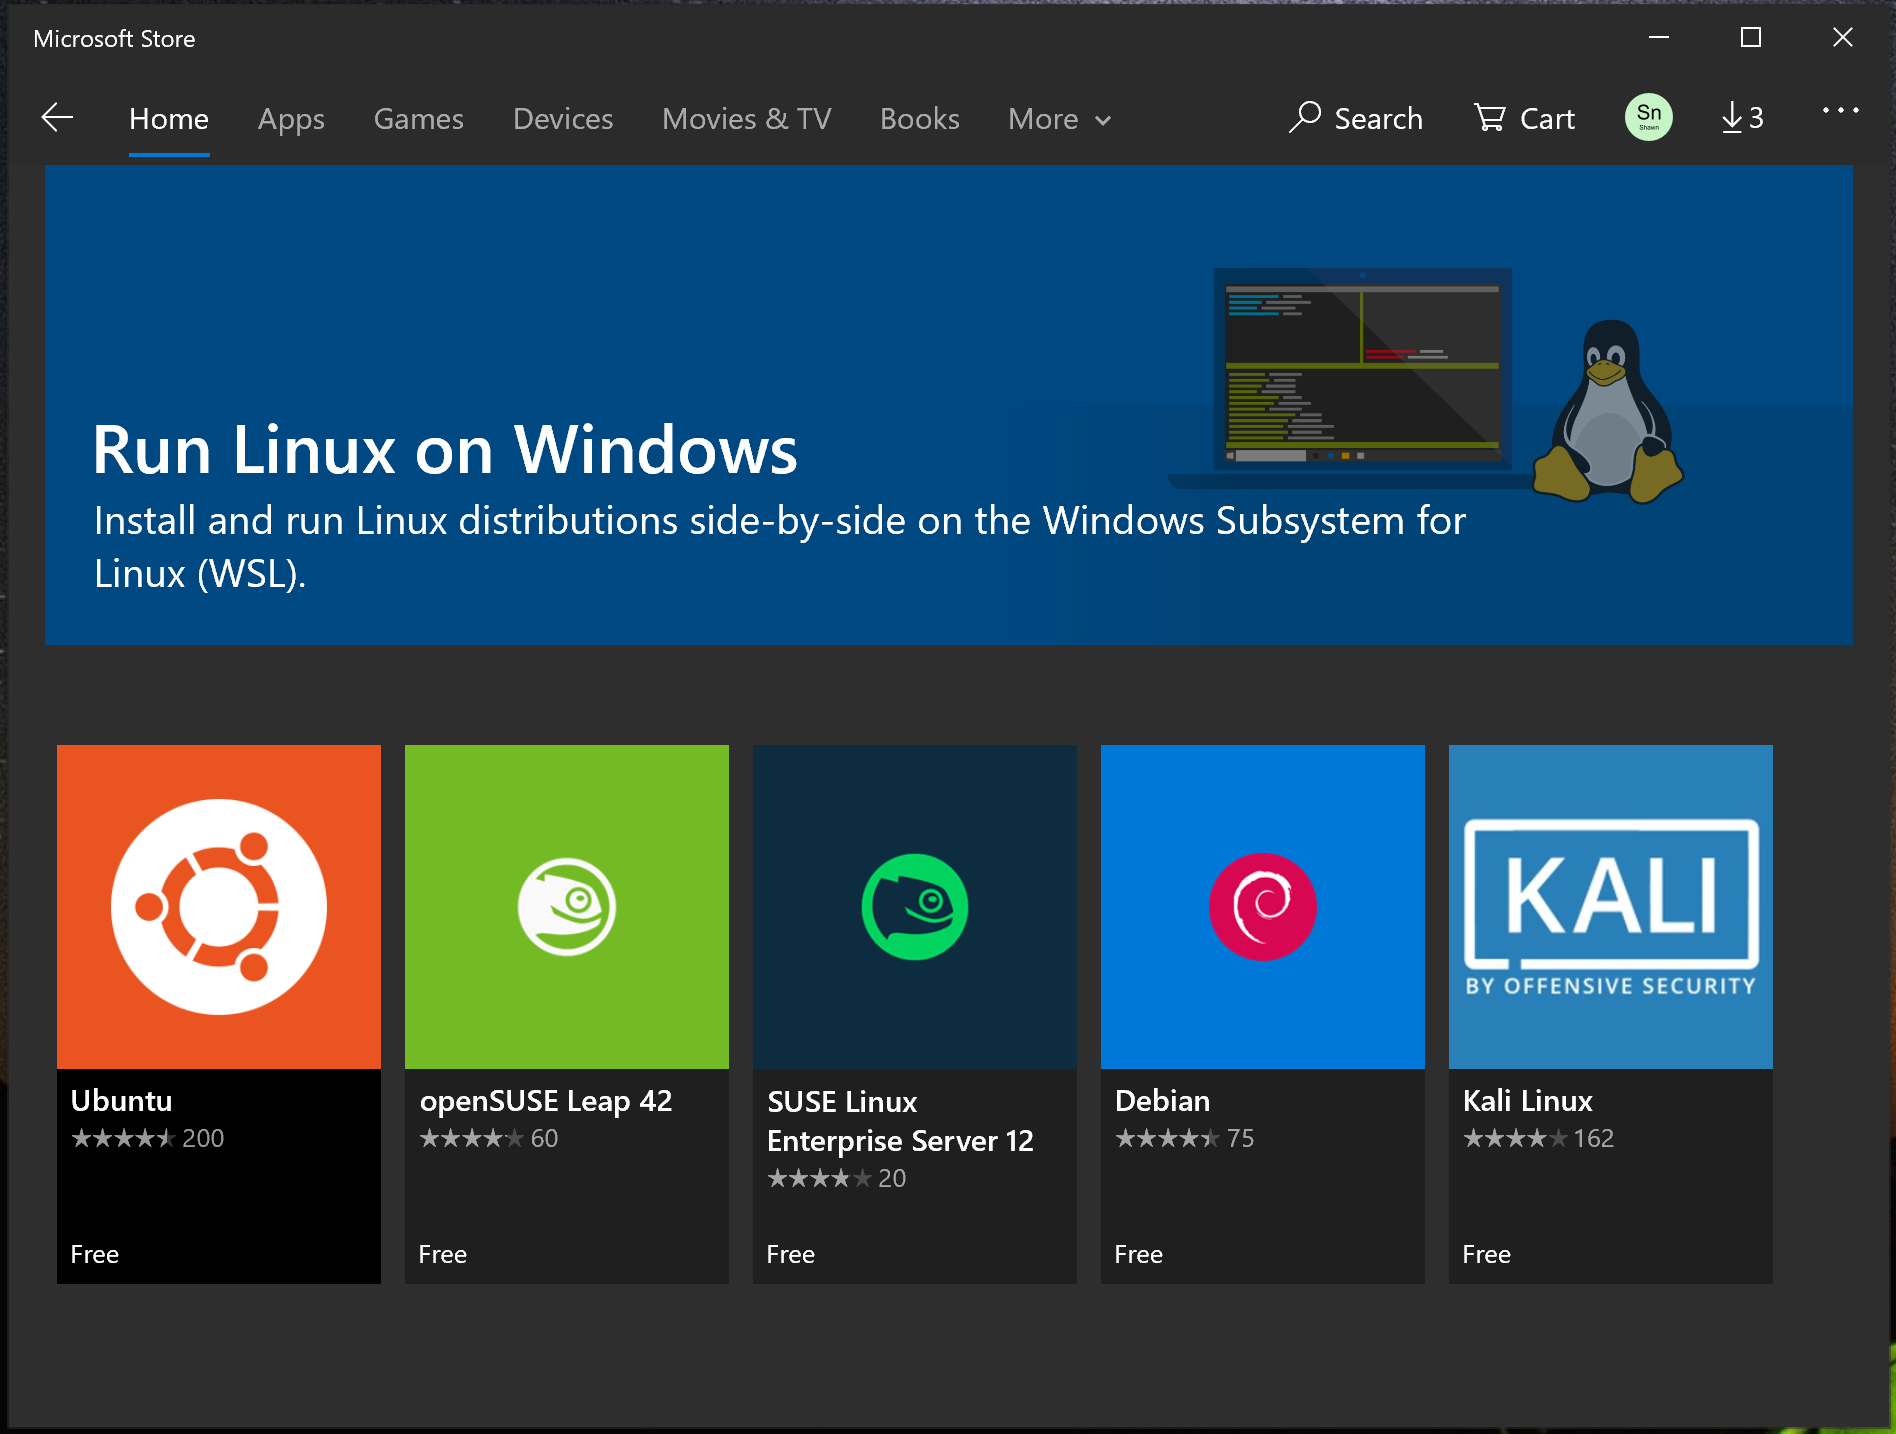
3. Once Ubuntu is downloaded, you should be able to see it in the Start Menu. Launch the program. It will take some time to set up the system for the first time.
4. After that, you will be prompted to create a new user for the subsystem. This does not need to match your Windows username or CS account. Once the account is created, you should be able to run the familiar Linux commands inside the subsystem.
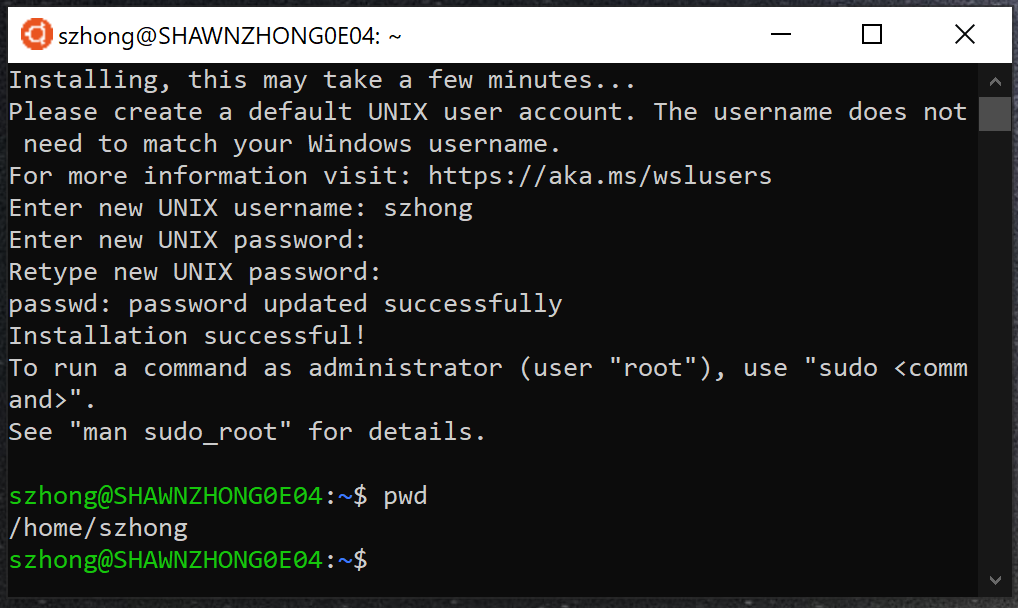
Note that the working directory is /home/<username>. If you want to access the disk on your Windows machine, you can cd to /mnt/<drive letter>/<path>.
Install Toolchains and QEMU
Run the following command in bash. (Note: You can right-click the terminal window to paste the command.)
sudo apt-get update
sudo apt-get install git nasm build-essential qemu gdb
You will be prompted to enter yes to confirm installation. The installation process takes about 30 minutes.
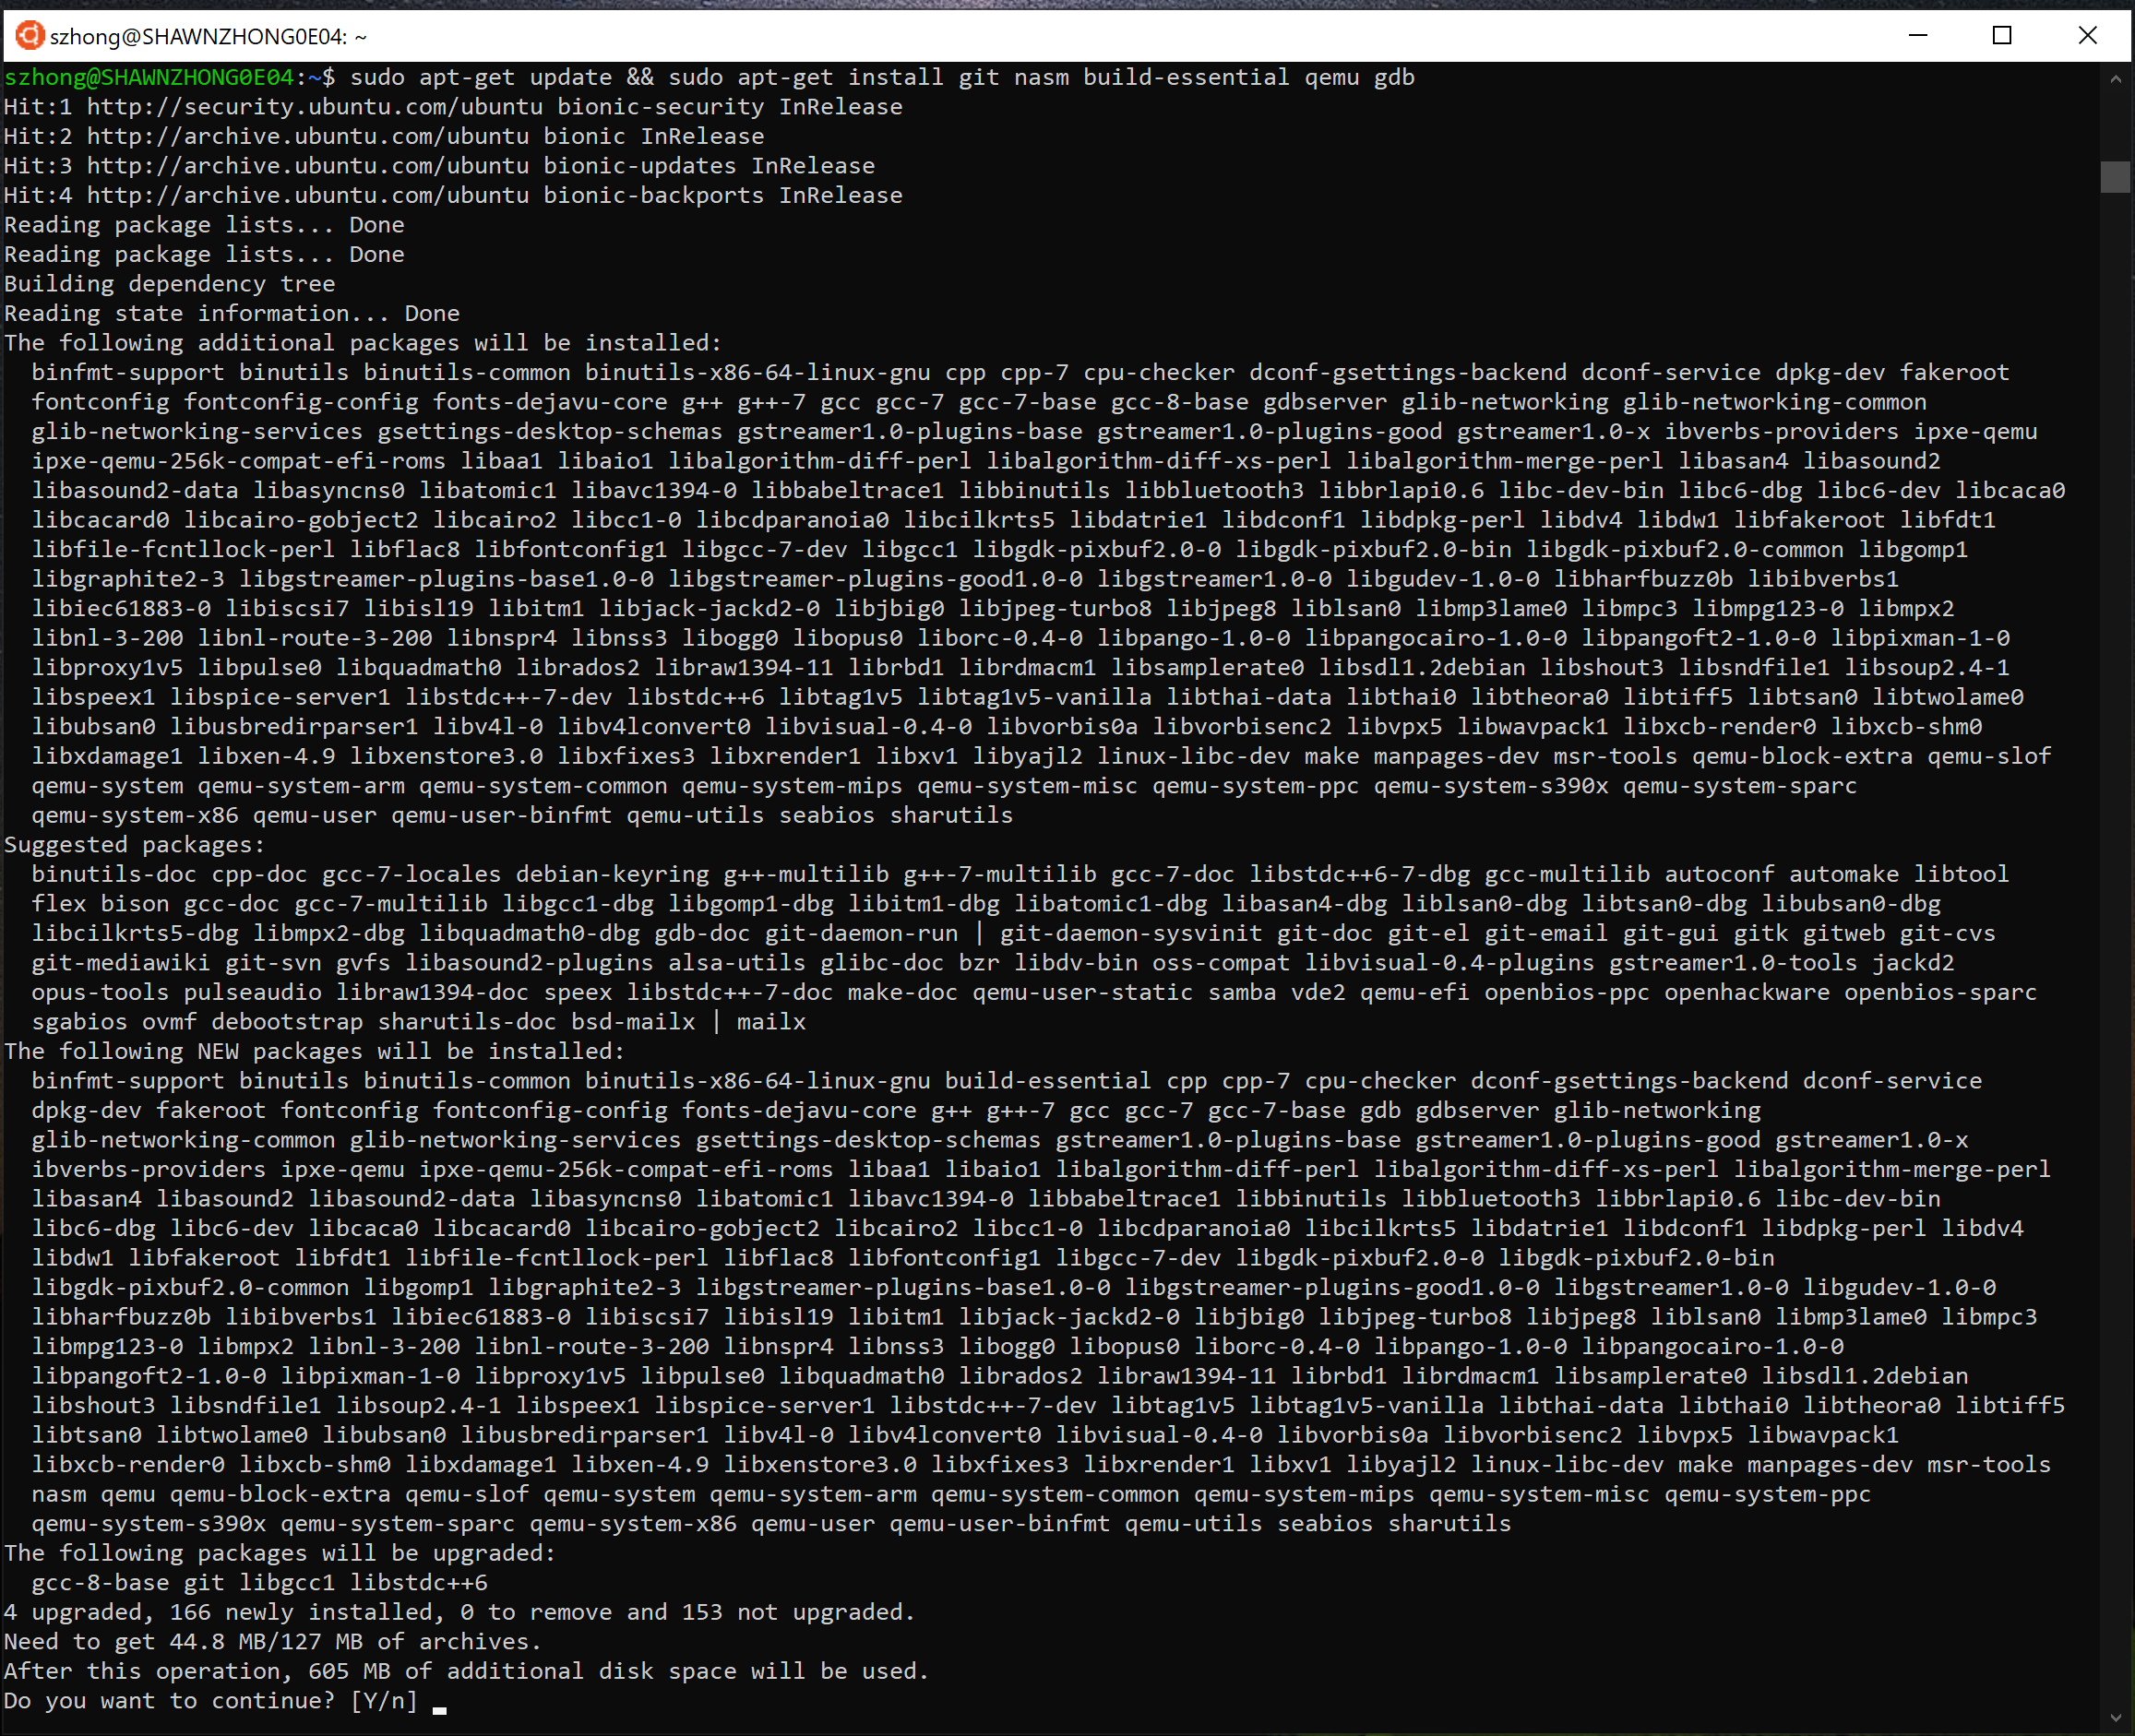
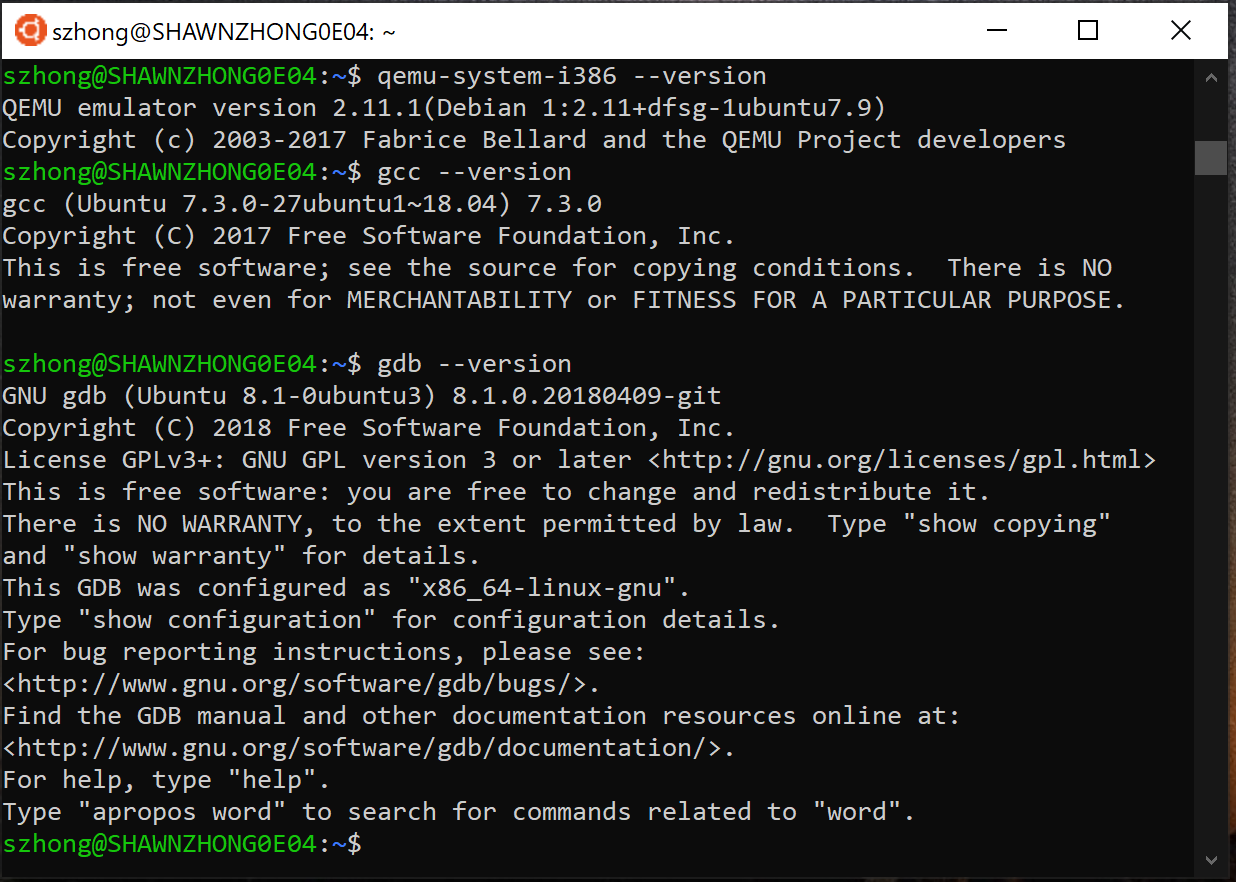
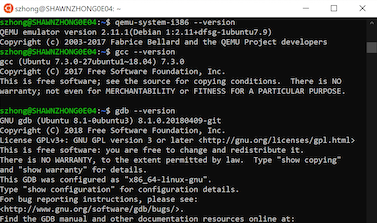
After apt-get is done, you should be able to run commands like gcc, gdb, qemu, etc.
Compile xv6
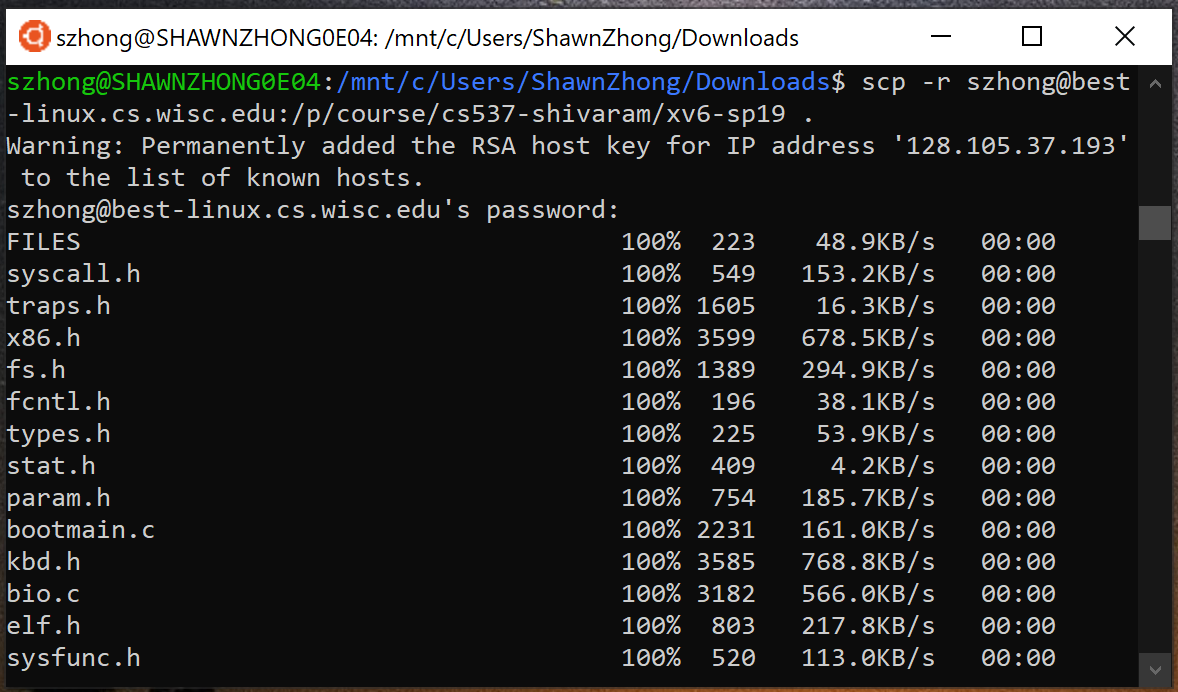
Change the working directory to your Windows machine and copy xv6 from CS Lab
cd /mnt/c/Users/ShawnZhong/Downloads
scp -r [email protected]:/p/course/cs537-shivaram/xv6-sp19 .
You can then use the following command to build and run xv6 locally on Windows.
make && make qemu-nox QEMU=/usr/bin/qemu-system-i386
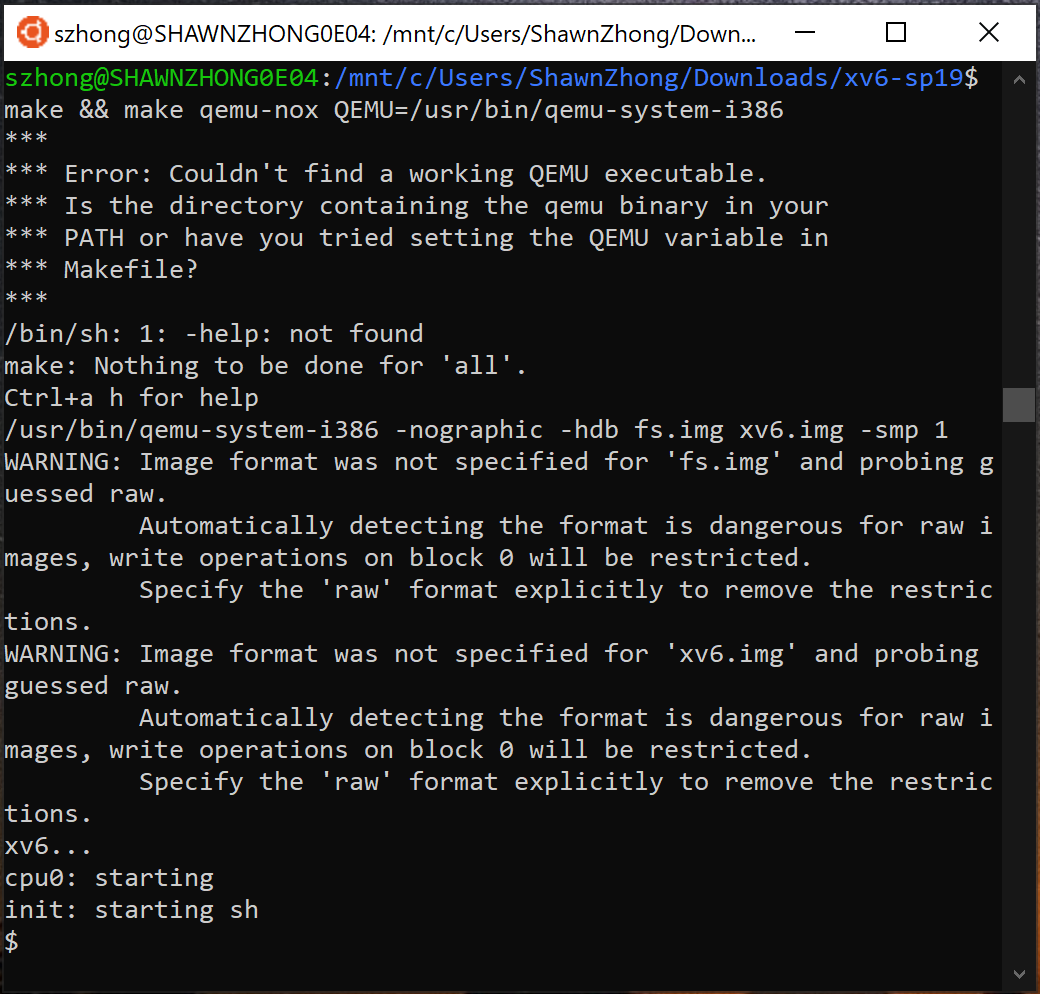
Congratulations! You have xv6 running locally on your Windows machine.
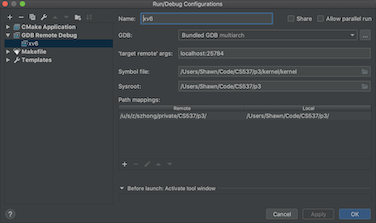
Since everything is on your local computer, you don’t need to sync the files to the server anymore! It also makes the debug experience much better since the debugging port is open on your local computer (i.e., no more port forwarding).





3 comments to “Compile xv6 locally on Windows”
You can leave a reply or Trackback this post.
Caren Lai - May 9, 2019 at 7:51 am
You are writting some really up-to-date tutorials. Thanks for your efforts.
Ark - March 12, 2020 at 3:02 am
非常有用,谢谢
Arzhang Valadkhani - October 18, 2021 at 1:47 pm
Hello after trying to download xv6 on my machine its asking me for a password?